아두이노 Uno, Mega2560 등의 보드에 꽂아서 사용하는 컬러 터치 LCD입니다. 동봉된 터치펜으로 손가락보다 정밀한 입력도 가능하며 예제 소스코드로 손쉽게 구동할 수 있습니다. MicroSD카드소켓이 있어 저장된 이미지 또는 데이터를 표시하는 등의 응용이 가능합니다. 추가 reset버튼이있어 기존 버튼을 가리더라도 불편이 없습니다. ※아두이노보드가 포함되어있지 않은 제품입니다.
화면크기 : 48.96mm×36.72mm(2.4inch) 전체크기 : 72.20mm×52.70mm 해상도 : 320×240 pixel (QVGA) 지원색상 : RGB 지원보드 : Arduino Uno Arduino Due Arduino Mega2560 Arduino Mega ADK Arduino Leonardo 드라이버IC : ILI9341 화면 인터페이스 : 8bit parallel data bus 외부 인터페이스 : microSD 소켓 구성품 : TFT LCD 쉴드, 터치펜
실행 중인 편집기를 닫고 패치의 압축을 푼 다음 HMIFORM.dll 및 hmitype.dll 두 파일을 Windows 폴더 "Program Files (x86)\USART HMI\"에 복사하고 편집기를 시작합니다.현재 버전에 대한 업데이트를 선택하지 마십시오.패치가 자동으로 적용되며 편집기는 영어로 표시됩니다.링크를 클릭하면 중국어 페이지로 연결될 수 있다는 점에 유의하세요.
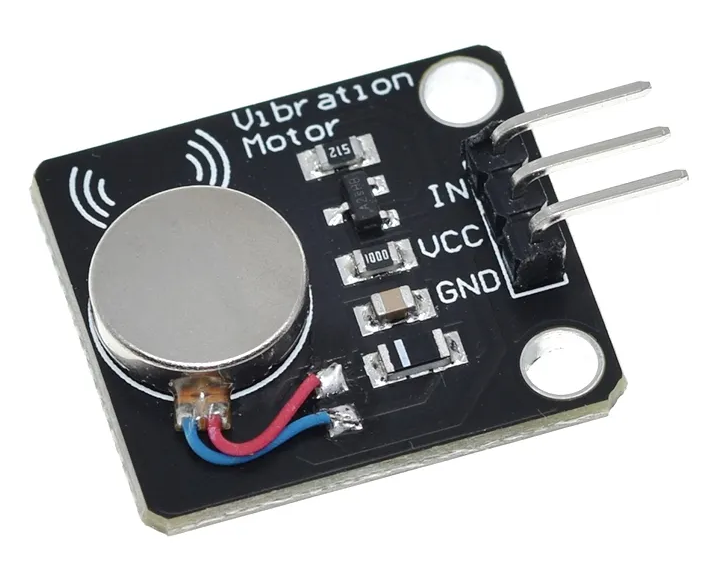
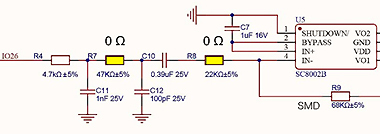
- 충전/방전을 반복함으로써 불안정한 전원을 잡아주기 위해 사용 - 직류를 통과시키지 않고 교류만 통과시키게 함 - 다이오드와 정류회로를 구성하여 교류를 직류로 만듬 - 콘덴서의 충전시간을 이용해서 펄스의 시간지연을 만듬 - 저항과 함께 구성하여 여러 신호들 중에서 저주파 또는 고주파 신호만을꺼냄 - 노이즈를 제거하기 위한 방법으로 사용 - IC(집적회로)의 안정된 작동을 위해 사용.
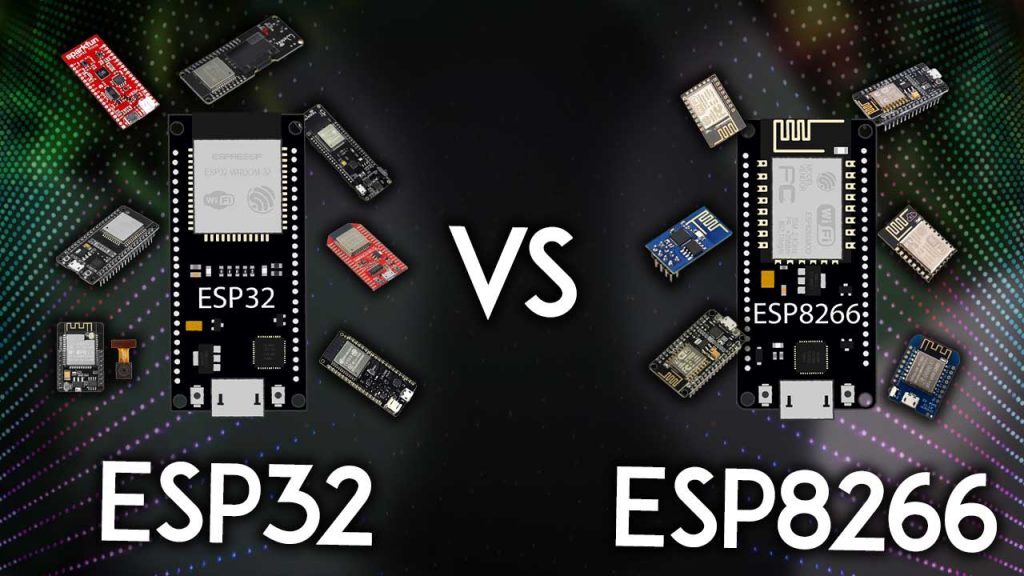
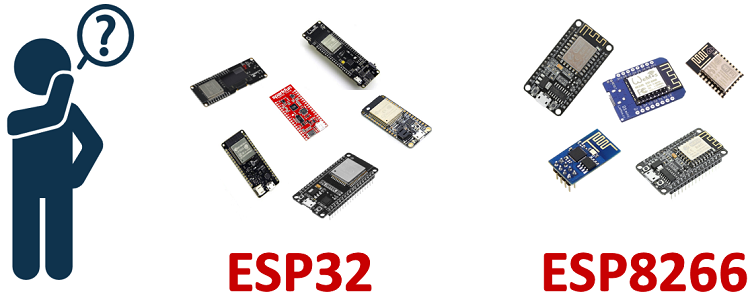
What’s the difference between ESP32 and ESP8266? Should you use the ESP32 or the ESP8266 in your projects? In this article, we’ll compare the ESP32 with the ESP8266 and cover the pros and cons of each board.
The ESP32 and ESP8266 are cheap Wi-Fi modules perfectly suited for DIY projects in the Internet of Things (IoT) and Home Automation fields.
Both chips have a 32-bit processor. The ESP32 is a dual-core 160MHz to 240MHz CPU, whereas the ESP8266 is a single-core processor that runs at 80MHz.
These modules come with GPIOs that support various protocols like SPI, I2C, UART, ADC, DAC, and PWM. The best part is that these boards come with wireless networking included, which makes them apart from other microcontrollers like the Arduino. This means that you can easily control and monitor devices remotely via Wi-Fi or Bluetooth (in the case of ESP32) for a very low price.
Alternatively, if you don’t need to use its wireless capabilities, you can use the ESP32/ESP8266 to control inputs and outputs as you would do with an Arduino. However, you should take into account that whereas the Arduino works with 5V logic, the ESP32 and ESP8266 work at 3.3V.
Both boards are cheap, but the ESP32 costs slightly more. While the ESP32 can cost around $6 to $12, the ESP8266 can cost $4 to $6 (but it really depends on where you get them and what model you’re buying).
The following table shows the main differences between the ESP8266 and the ESP32 chips (table adapted from AMICA_IO).
ESP8266ESP32
ESP8266
ESP32
MCU
Xtensa Single-core 32-bit L106
Xtensa Dual-Core 32-bit LX6 with 600 DMIPS
802.11 b/g/n Wi-Fi
HT20
HT40
Bluetooth
X
Bluetooth 4.2 and BLE
Typical Frequency
80 MHz
160 MHz
SRAM
X
✓
Flash
X
✓
GPIO
17
34
Hardware /Software PWM
None / 8 channels
None / 16 channels
SPI/I2C/I2S/UART
2/1/2/2
4/2/2/2
ADC
10-bit
12-bit
CAN
X
✓
Ethernet MAC Interface
X
✓
Touch Sensor
X
✓
Temperature Sensor
X
✓(old versions)
Hall effect sensor
X
✓
Working Temperature
-40ºC to 125ºC
-40ºC to 125ºC
Price
$ (3$ - $6)
$$ ($6 - $12)
Where to buy
Best ESP8266 Wi-Fi Development Boards
ESP32 Development Boards Review and Comparison
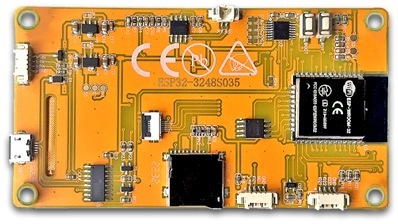
Using ESP32 or ESP8266 bare chips is not easy or practical, especially when testing and prototyping. Most of the time, you’ll want to use ESP32 and ESP8266 development boards. These boards come with all the needed circuitry to power the chip, connect it to your computer, a circuit to upload code easily, pins to connect peripherals, built-in power and control LEDs, and other useful features.
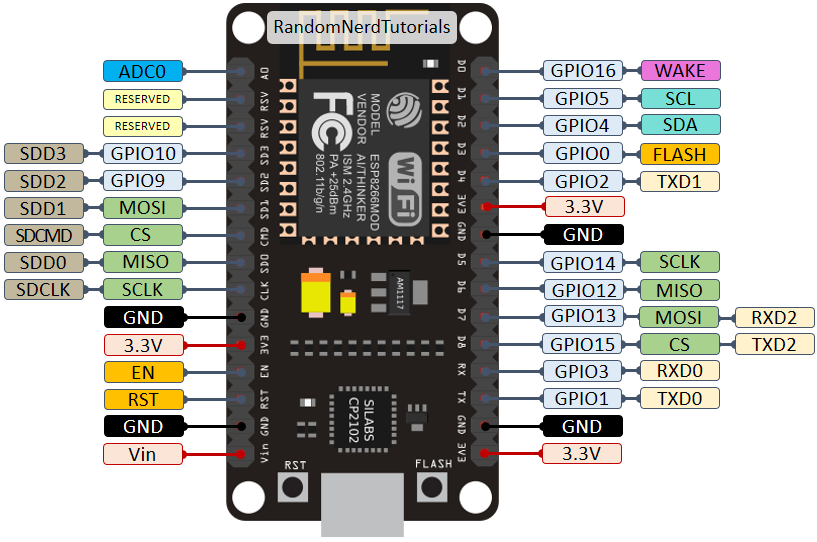
The ESP32 and ESP8266 development boards we use more often are the ESP32 DEVKIT DOIT Development board and the ESP8266 ESP-12E NodeMCU Kit and these are the ones we recommend for beginners. However, there are many other models of development boards that you can choose from. We recommend that you read the following guides:
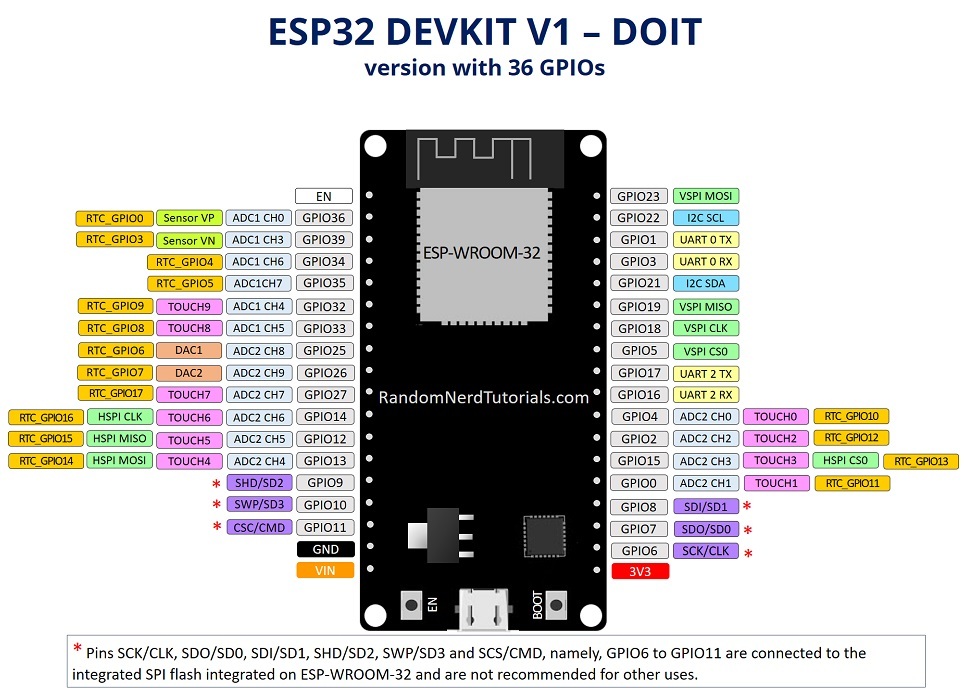
The ESP32 has more GPIOs than the ESP8266, and you can decide which pins are UART, I2C, SPI—you need to set that on the code. This is possible due to the ESP32 chip’s multiplexing feature that allows you to assign multiple functions to the same pin.
If you don’t set them on the code, they will be on the pins defined by default, as shown in the following figure (this is an example for the ESP32 DEVKIT V1 DOIT board (version with 36 GPIOS)—the pin location can change depending on the manufacturer).
To learn more about the ESP32 GPIOs and how to use them, read:
You can set PWM signals in any GPIO with configurable frequencies and duty cycle set on the code.
When it comes to the analog pins, these are static, but the ESP32 supports measurements on 18 channels (analog-enabled pins) versus just one 10-bit ADC pin on the ESP8266. The ESP32 also supports two 8-bit DAC channels.
Moreover, the ESP32 contains 10 capacitive sensing GPIOs, that detect touch and can be used to trigger events, or wake-up the ESP32 from deep sleep, for example.
There are many ways to program the ESP32 and ESP8266 boards. Both boards can be programmed with the Arduino core using the Arduino IDE or other IDEs (like VS Code with the PlatformIO extension).
These are good news, especially for those used to program the Arduino board and are familiar with the Arduino “programming language”.
Getting started with the ESP32 or ESP8266 using Arduino IDE and have your first project running is very simple. You can follow these guides:
Although you can program both boards using Arduino IDE, they might not be compatible with the same libraries and functions. Some libraries are just compatible with one of the boards. This means that most of the time, your ESP8266 code will not be compatible with the ESP32. However, usually, you need to make a few modifications.
We have a dedicated list of free tutorials and projects for the ESP32 and ESP8266 boards using the Arduino IDE that you might found useful:
Another popular way of programming the ESP32 and ESP8266 boards is using MicroPython firmware.
MicroPython is a re-implementation of Python 3 targeted for microcontrollers and embedded systems. MicroPython is very similar with regular Python. So, if you already know how to program in Python, you also know how to program in MicroPython.
In MicroPython, most Python scripts are compatible with both boards (unlike when using Arduino IDE). This means that most of the time, you can use the same script for ESP32 and ESP8266.
You can get started with MicroPython firmware on the ESP32 and ESP8266 very quickly by following our free guides:
So, at this point you may be wondering: Should I get an ESP8266 or an ESP32?
It really depends on what you want to do. There is space for both boards, and both have pros and cons.
The ESP8266 is cheaper than the ESP32. Although it doesn’t have as many functionalities, it works just fine for most simple DIY IoT projects. However, it has some limitations in the GPIO mapping, and it might not have enough pins for what you intend to do. If that’s the case, you should get an ESP32.
The ESP32 is much more powerful than the ESP8266, comes with more GPIOs with multiple functions, faster Wi-Fi, and supports Bluetooth. However, many people think that the ESP32 is more difficult to deal with than the ESP8266 because it is more complex. On the contrary, in our opinion, it is as easy to program the ESP32 as the ESP8266, especially if you intend to program it using the “Arduino language” or MicroPython.
The ESP32 has some cons too. The ESP32 is more expensive than the ESP8266. So, if you’re building a simple IoT project, the ESP8266 might do the trick for a lower price. Additionally, because the ESP8266 is “older” than the ESP32, some libraries and features are better developed for the ESP8266, and you’ll find more resources (forums, people with the same issues, and how to solve them, etc.). However, as time goes by, the ESP32 is being widely adopted, and these differences in terms of development and libraries won’t be noticeable.
My personal experience: in 2021, I use almost exclusively the ESP32 for IoT projects. It is more versatile, and it comes with much more functionalities like Bluetooth, different wake-up sources, many peripherals, and much more. Additionally, the price difference is not a big deal, in my opinion. Once you move to the ESP32, you won’t want to go back to the ESP8266.
Wrapping Up
We hope you’ve found our analysis ESP32 vs ESP8266 useful.
Just to wrap up the main differences between the ESP32 and ESP8266:
The ESP32 is faster than the ESP8266;
The ESP32 comes with more GPIOs with multiple functions;
The ESP32 supports analog measurements on 18 channels (analog-enabled pins) versus just one 10-bit ADC pin on the ESP8266;
The ESP32 supports Bluetooth while the ESP8266 doesn’t;
The ESP32 is dual-core, and the ESP8266 is single core;
The ESP8266 is cheaper than the ESP32;
The ESP8266 has a wider community (although we don’t think that at this point, the difference is that relevant);
For many IoT and Wi-Fi projects, the ESP8266 can do the job for a lower price;
Both boards can be programmed with the Arduino core using Arduino IDE or other supported IDEs.
Both boards support MicroPython firmware.
You might like reading the following ESP8266 and ESP32 related articles to have an idea of the selection of the most popular ESP32 and ESP8266 development boards:
So, if you’re a beginner, should you get started with the ESP32 or the ESP8266? At this point, we definitely recommend getting started with the ESP32 instead of the ESP8266. However, if you already have an ESP8266 board, you can get started with that board and then make the shift to the ESP32.
We have a vast selection of projects with these boards in the Random Nerd Tutorials blog to help you get started:
2. Arduino IDE 1.8.x 변경후에도 계속적인 문제가 발생한다면 케이블을 교체해주세요.
-Micro 5pin(USB-B Micro)전압 저하 호환성 문제로 보입니다.
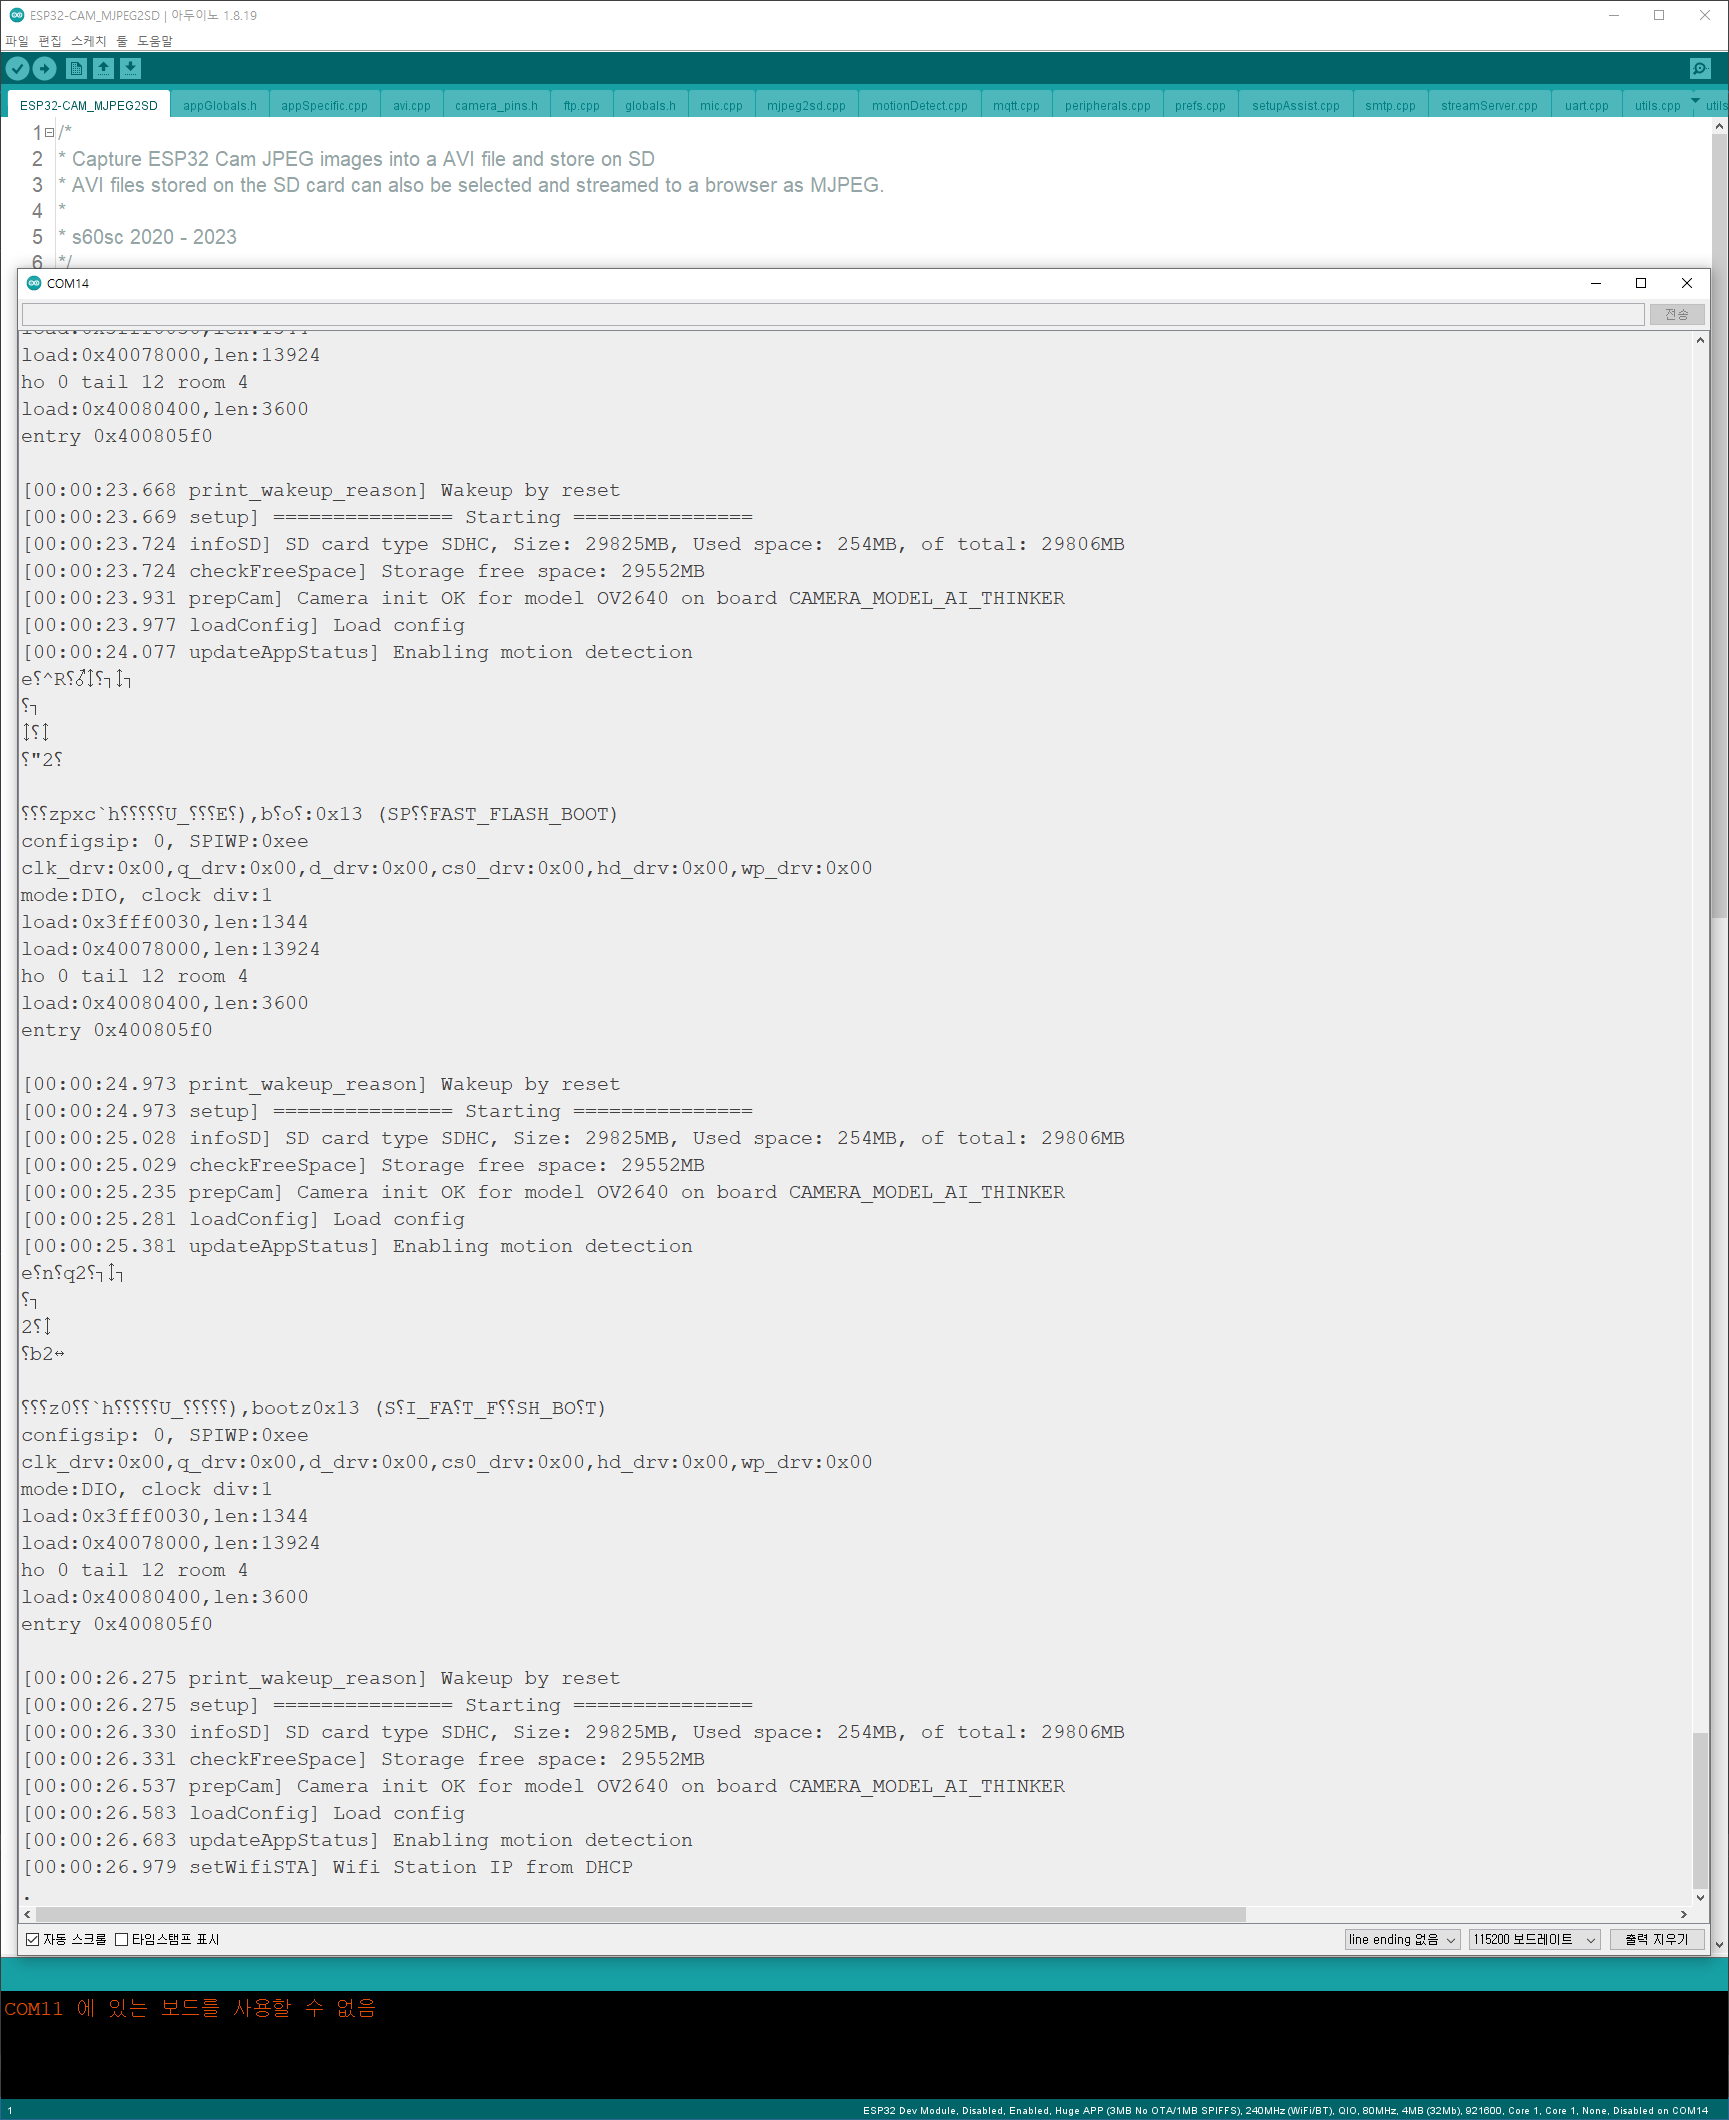
Error: “Brownout detector was triggered” When you open your Arduino IDE Serial monitor and the error message “Brownout detector was triggered” is constantly being printed over and over again. It means that there’s some sort of hardware problem.
It’s often related to one of the following issues:
Poor quality USB cable; USB cable is too long; Board with some defect (bad solder joints); Bad computer USB port; Or not enough power provided by the computer USB port. Solution: try a different shorter USB cable (with data wires), try a different computer USB port or use a USB hub with an external power supply.